Supplies needed:
PUL
Outer fabric (can be anything you want)
Microfleece or something for inner fabric. I like microfleece because it's stay dry.
1/4 inch braided elastic
thread
sewing machine
(serger optional)
Wonder clips or bobby pins to hold everything in place. Do not use sewing pins because we do not want extra holes in the PUL. The less holes the better ;)
Pattern - I like Arfy's Multiwing OS pattern with a few modifications of my own. Here is the link for that pattern: https://drive.google.com/file/d/0B3ZS8fH9BssYMUVtWmk3T0pmYkE/view?usp=sharing
1. Cut out the pattern. Add 1/4 inch to both sides along the elastic. Add lines for the top and bottom portions of the pocket. You can also add lines for doing a French seam as well if you choose to do a different front and back to the diaper or to piece 2 smaller pieces together if you don't have enough fabric to get one big cut (ie. you only have 1/4 yard cut).


5. Optional: Serge the pocket opening edges on just the sides that will be the opening. I like to do this because it gives a more finished appearance but it is optional. Microfleece doesn't fray.


Elastic Markings

Tacked Elastic

After trimming. LEAVE THE ELASTIC CASINGS.
9. Turn your diaper right side out. Make sure to get all the corners turn. Pin your elastics in place around the edges stretching as you pin it. This will help you ensure that when you top stitch you do not catch the elastic. Top stitch your diaper using 1/4 seam. 1/2 inch or so before you come to your elastics, stop sewing and curve. Sew in to about 1/2 inch and sew the length of the elastic to create a casing. When you get to the end of the elastic, sew about 1/2 inch and curve back down to 1/4 inch. Continue topstitching until you reach another elastic and do the same steps.
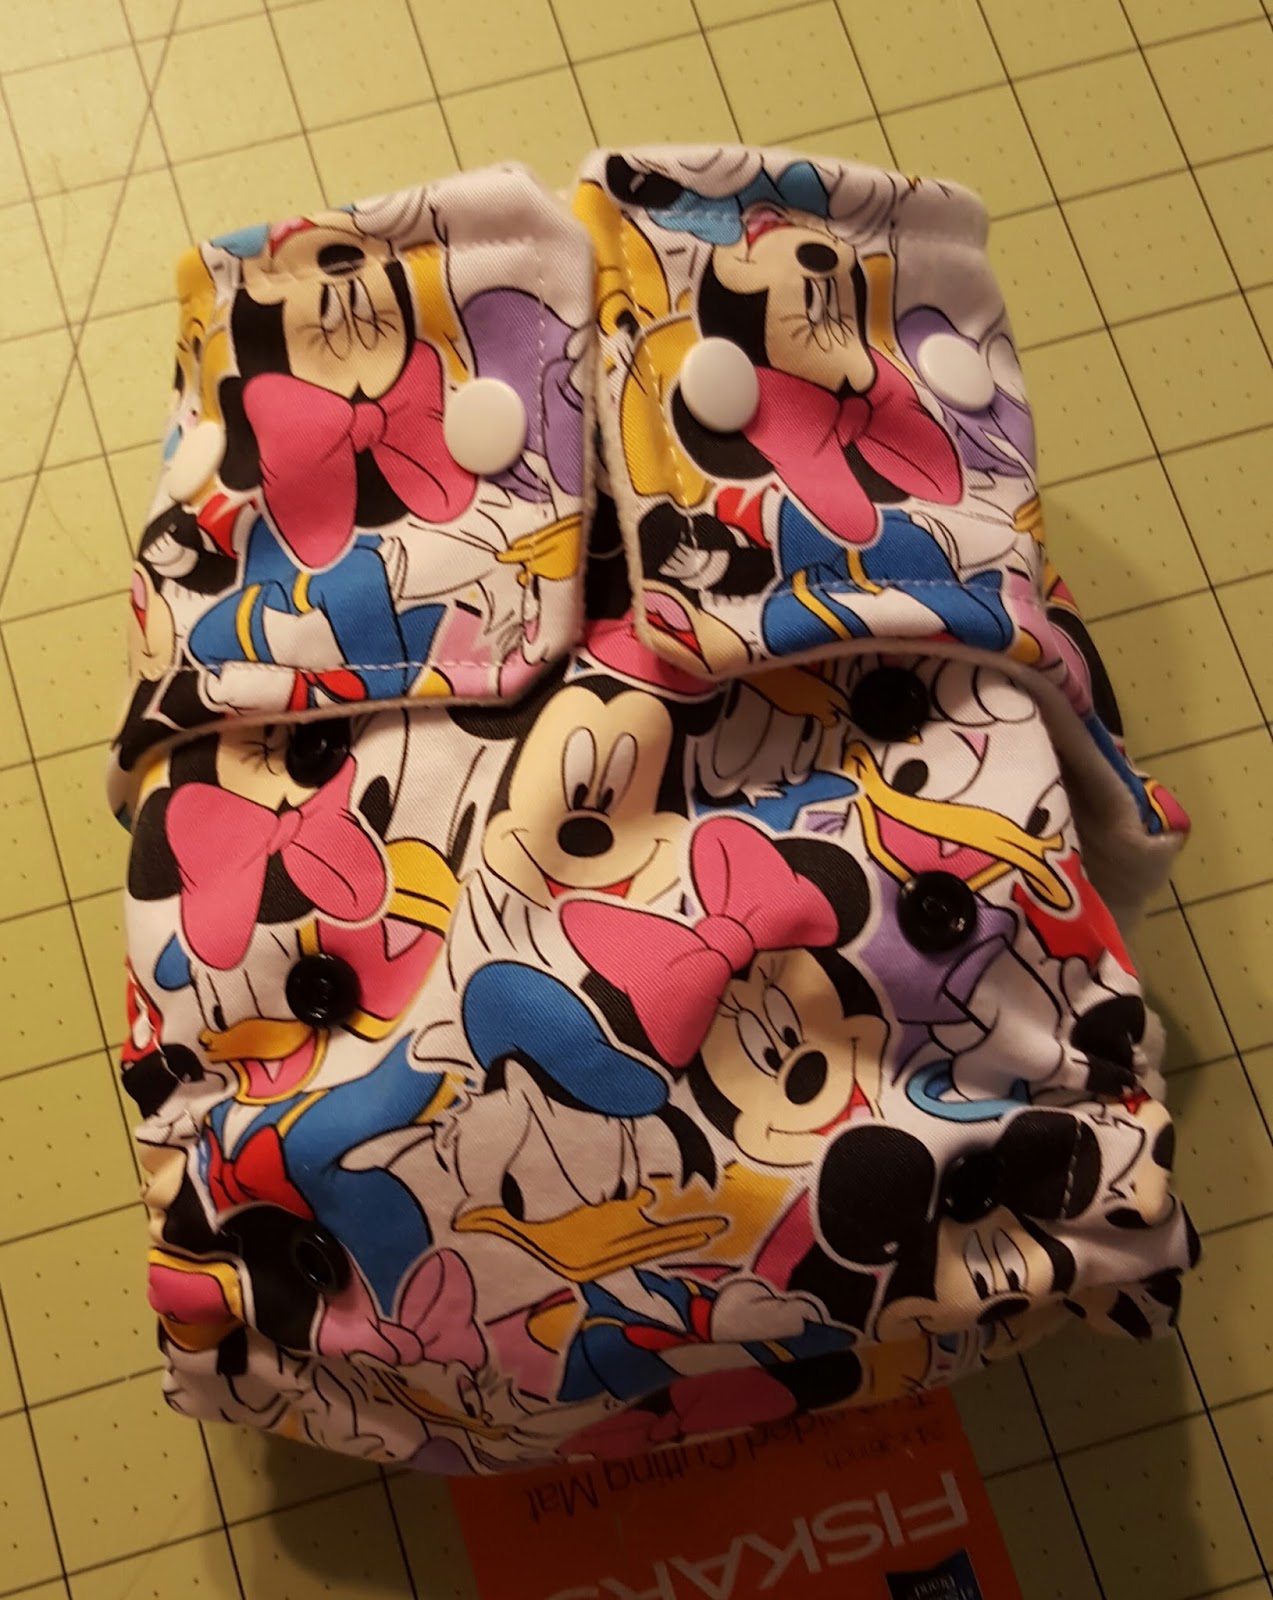
10. Add your waist snaps. I do 2 snaps on each side to help prevent drooping. Pop that baby in the dryer on medium heat for 30 mins to seal all the holes in your PUL and you are
DONE!!!!